1. Download the installation iso from: http://www.android-x86.org/download
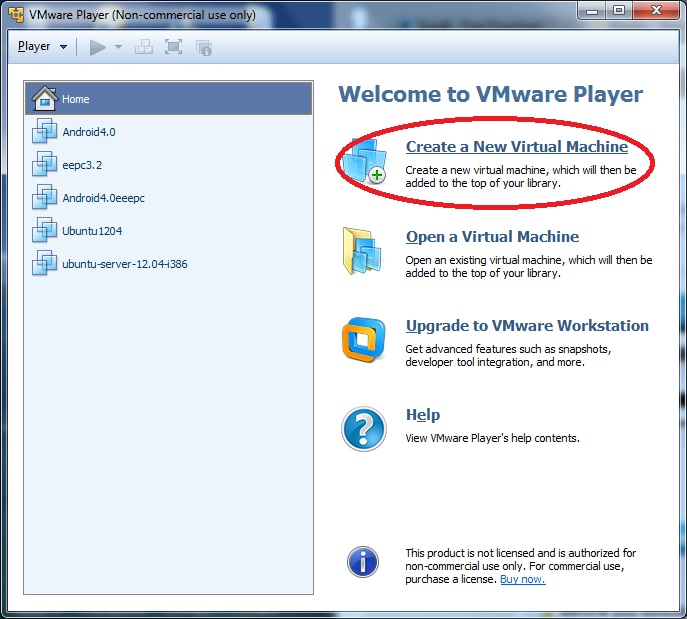
2. Start VMWare player
3. Select 'Create a New Virtual Machine'
2. Start VMWare player
3. Select 'Create a New Virtual Machine'
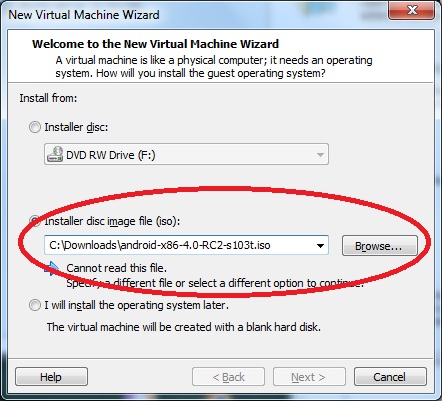
4. Select Installer disc image file(iso):
5. Select Browse and navigate to the iso file downloaded earlier
6. Select Next
5. Select Browse and navigate to the iso file downloaded earlier
6. Select Next
7. Give your new virtual machine a meaning full name
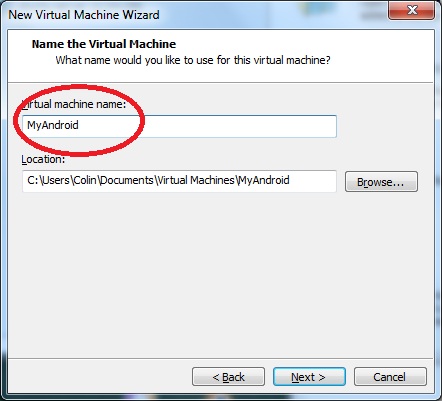
8. Select Next
9. Select Finish
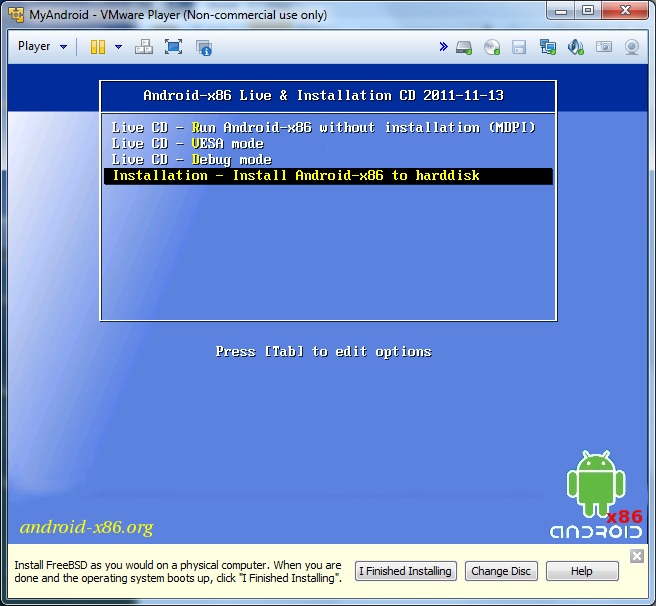
10. Select Installation - Install Android-x856 to harddisk (you will need to click inside the virtual machine window then hit enter)
9. Select Finish
10. Select Installation - Install Android-x856 to harddisk (you will need to click inside the virtual machine window then hit enter)
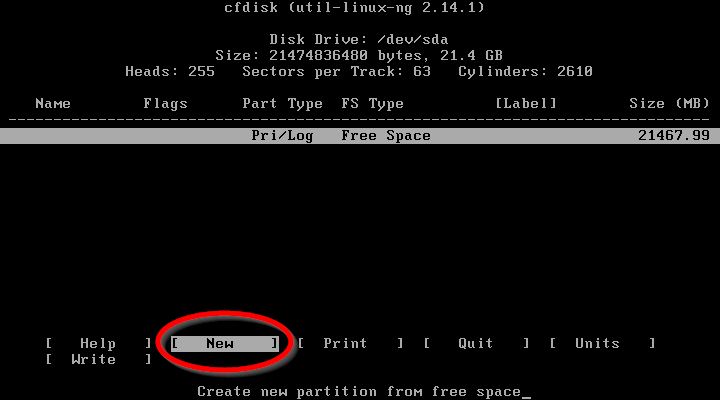
11. Leave selection as Create/Modify partitions and press Enter (this is to modify virtual partitions only, not your actual harddisk), then select the following:
- New
- Primary
- Leave default size
- Bootable
- Write
- Type 'yes' at warning
- Quit
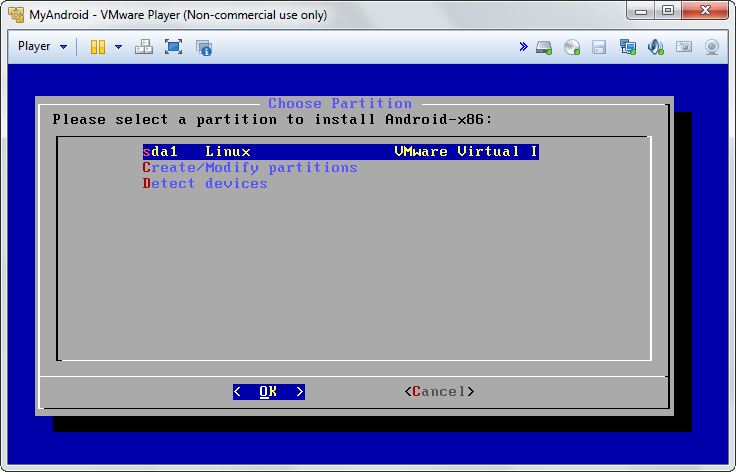
12. Install Android
- Leave default sda1 and press Enter
- Select ext3 and Enter
- Select yes to install Grub boot loader
- Install as read-write, change selection to Yes and press Enter
13. Create a fake SD (Optional, but I would recommend, you never know if you'll need it)
Leave default size unless you need more
Leave default size unless you need more
14. Done. Reboot and try out Android-x86
Remember to press Ctrl + Alt to escape the VM at any time.
Remember to press Ctrl + Alt to escape the VM at any time.
